


Secure File Transport - Post Installation Guide
Data Transfer Settings:
Navigate to Setup -> Custom Settings -> Data Transfer Settings
Update the below fields as per Requirement
- RequestByEmail
- True if request to send/receive documents is made using Email
- RequestByPhone
- True if request to send/receive documents is made using SMS
- TfaMethod
- Method to receive Two factor authentication Code.
- Populate the Value with SMS or Email
- TfaRequired
- True if Two factor Authentication is Required
File Request Field Mapping:
This setting will be used to auto populate the File Request/Send form with the values from the Source Object. Make an entry in this setting to Map the Field of Source Object(Account, Contacts any Standard or Custom Object) with required parameters.
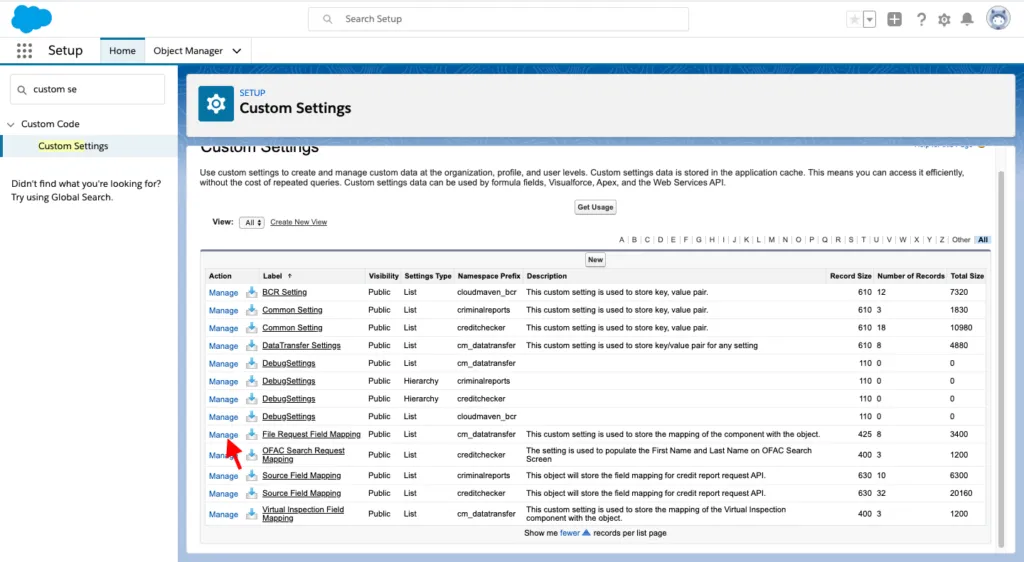
- Click on the Gear Icon and go to setup.
- Search for Custom Setting in Quick Find Box.
- Click on Manage of “File Request Field Mappings”.
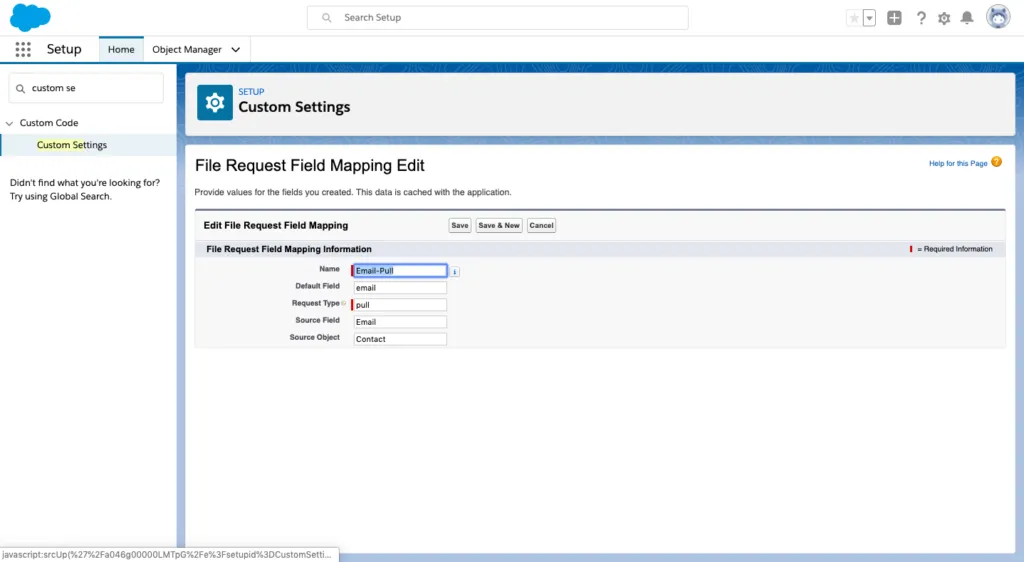
- Create below Entries for both push/pull Request Type:
- First Name
- Last Name
- Phone
- Click on New to Create New Entry for Pull Request.
- Click on New to Create New Entry for Push Request.
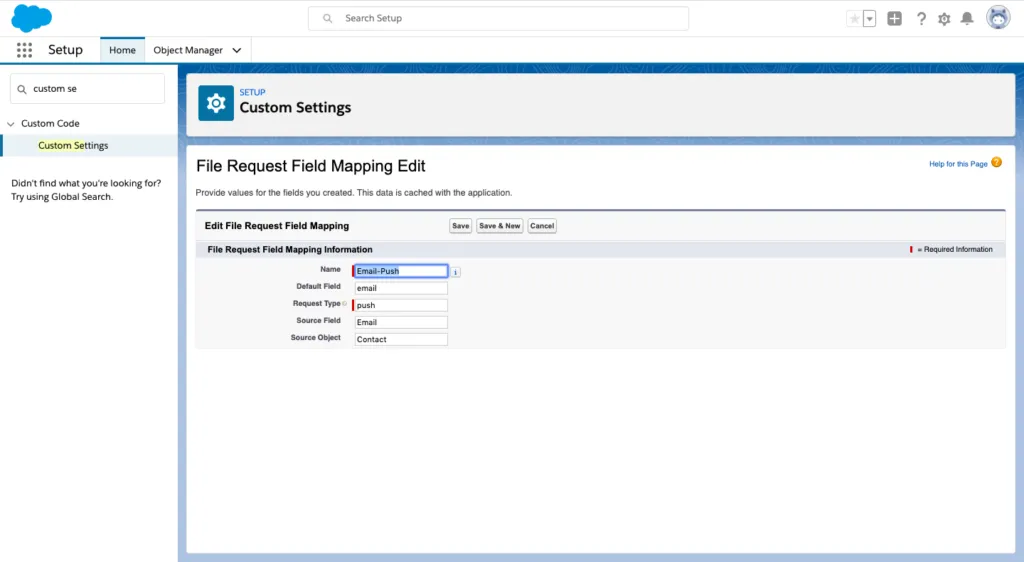
Note: Similarly complete the entries for the above-mentioned fields.
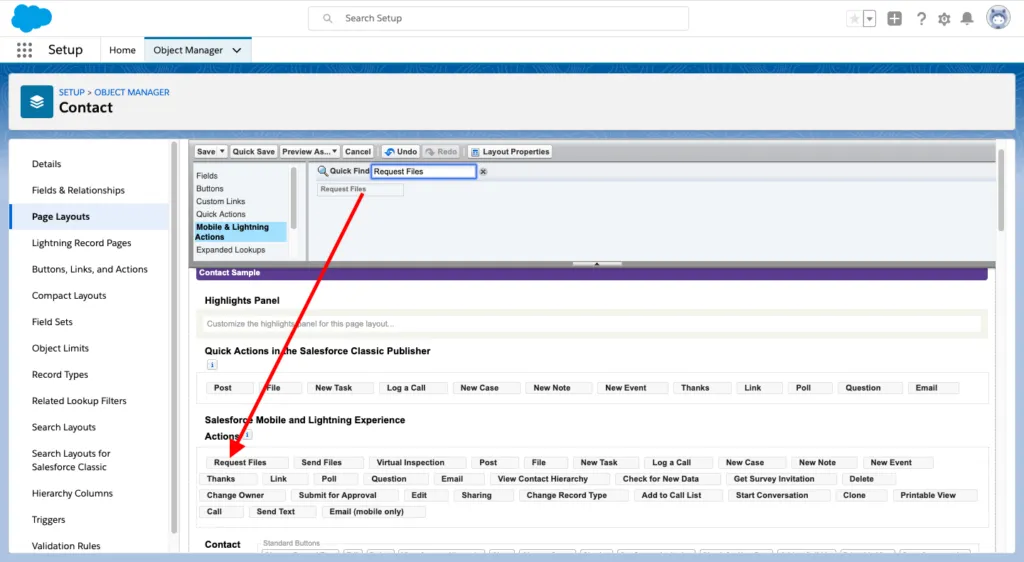
Adding Component to Source Object Page Layout.
- Go to your Source Object from Object Manager.
- Go to Page Layout of your Source Object -> Mobile & Lightning Actions
- Drag the already existing Request Files and Send Files button on the Object Layout.
- Save the Record.
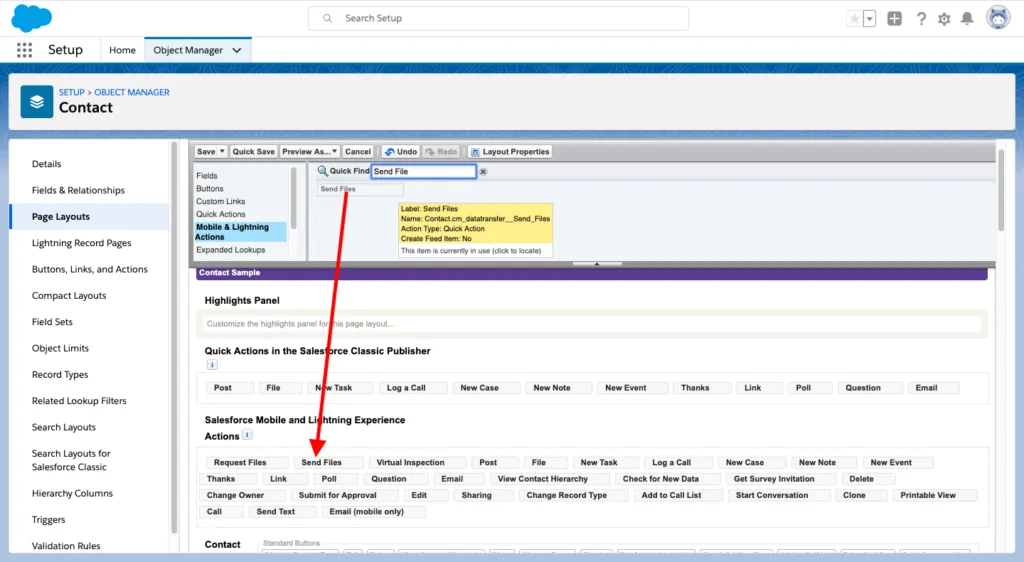
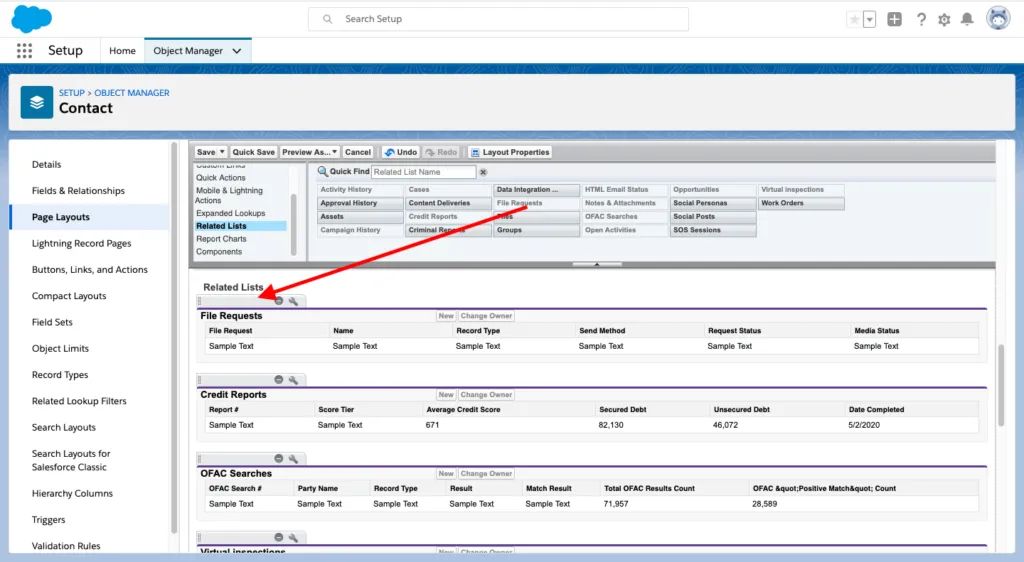
- Add the Related List on the Page Layout.
Update Text/Email templates.
These template records are created one-time to auto populate the File Request and Send Form. This would avoid writing the same content again and again. Also this field can be updated on the Form itself if required.
- Go to the Secure File Transfer Application.
- Click on Text/Email Templates tab.
- Create Records for ‘Media Request’ and ‘Send Media’.
- Select ‘Media Request’
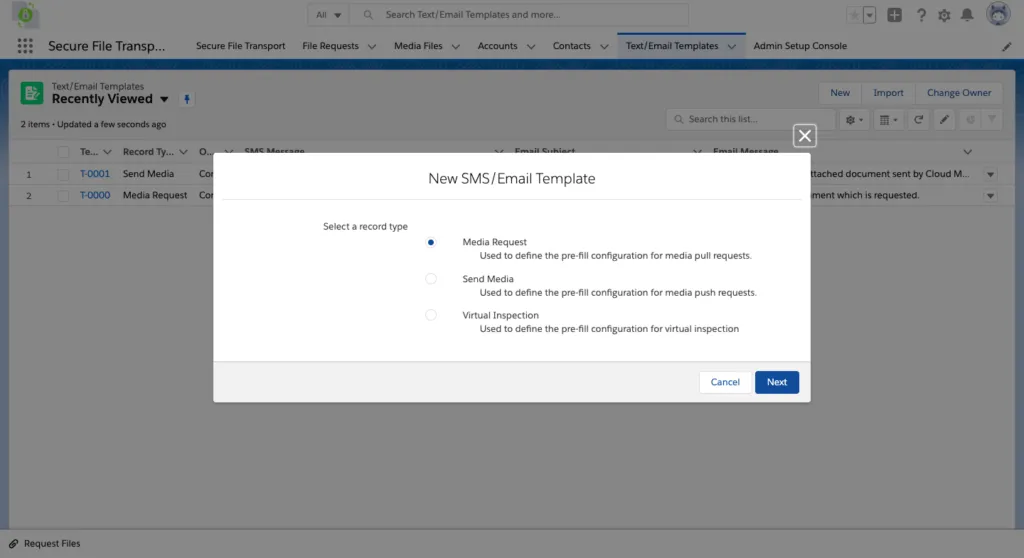
- Click Next and Update the SMS/Email/Message Templates.
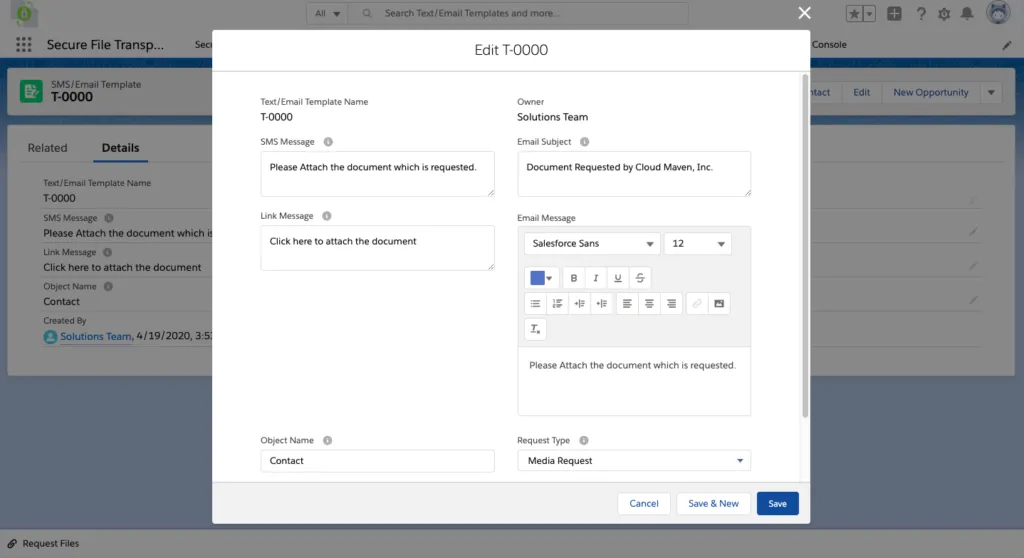
- Click Save.
- Now again click on the New button to create Send Media Record.
- Update the SMS/Email/Message Templates.
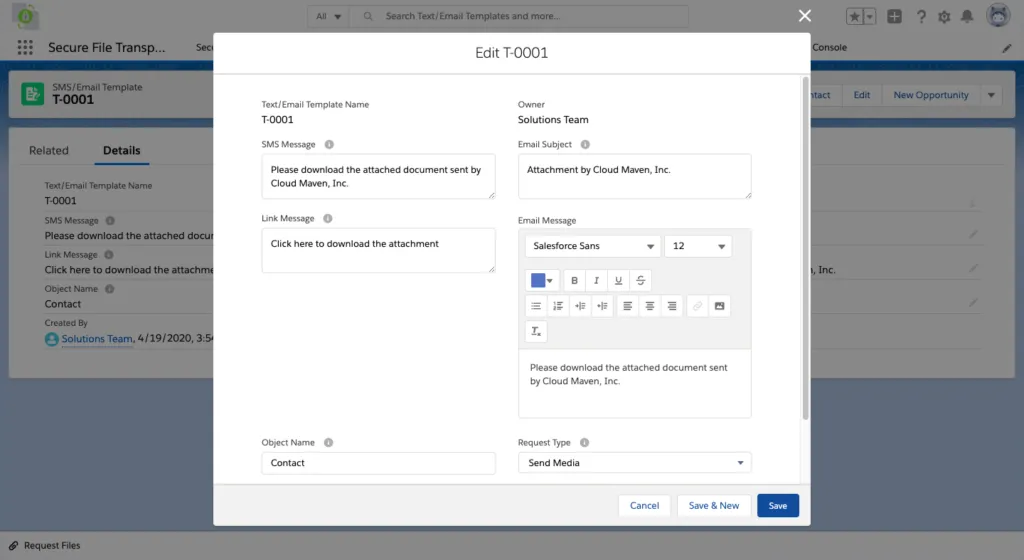
- Click Save.
- Please Note the contents in the Images shown above are only for demo purpose please feel free to change the contents according to your requirements.
Congratulations! You have successfully Installed Virtual Verification Application. For Information and troubleshooting please write to us at solutions@cloudmaveninc.com.