Medical Insurance Verification – Post Installation Guide
1. Post Installation.
- Log in to your org using your credentials.
- Click on setup(Gear Icon).
- Go to installed packages.
- Search for Eligibility Checker App.
- Click on “Manage Licenses” link.
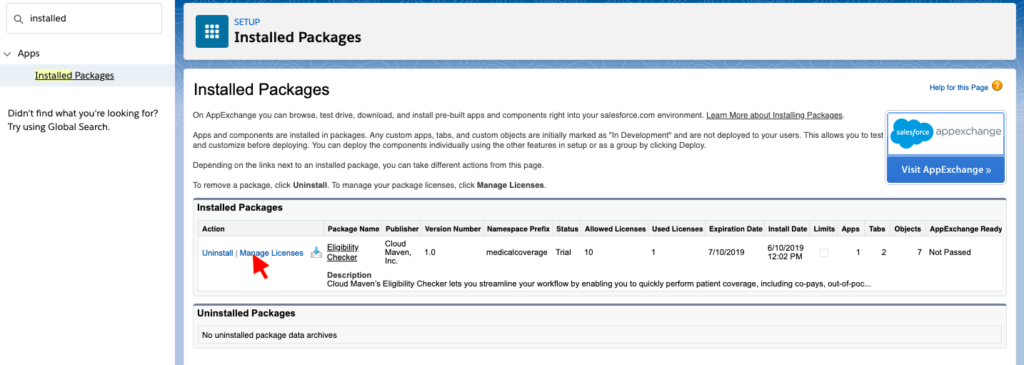
Click on “Add users” button to grant permission to users who can use this App.

Assigning Permission to Health Cloud Member Services
- Click on Gear Icon and go to setup.
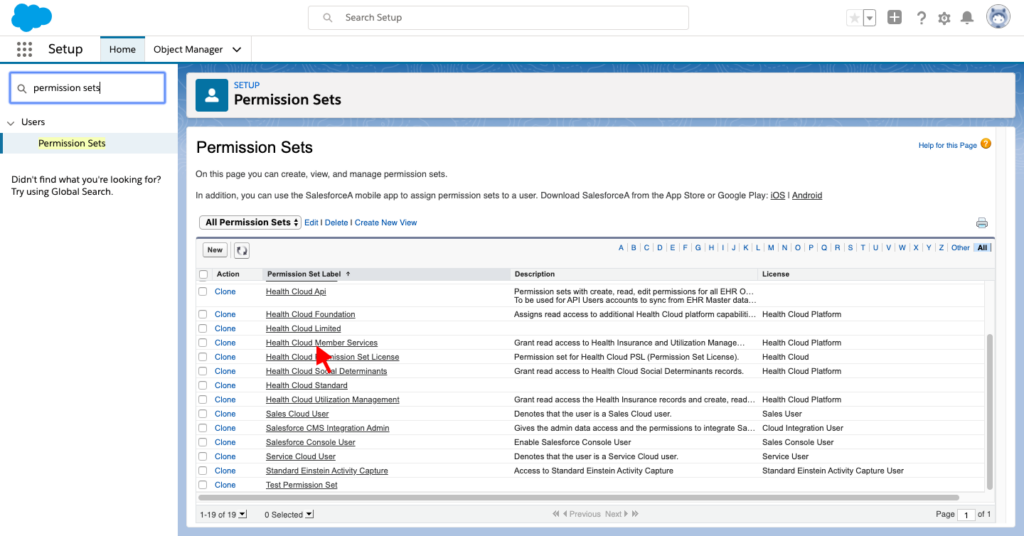
- Search for Permission sets in Quick find box.
- In Permission Sets click on Health Cloud Member Services.
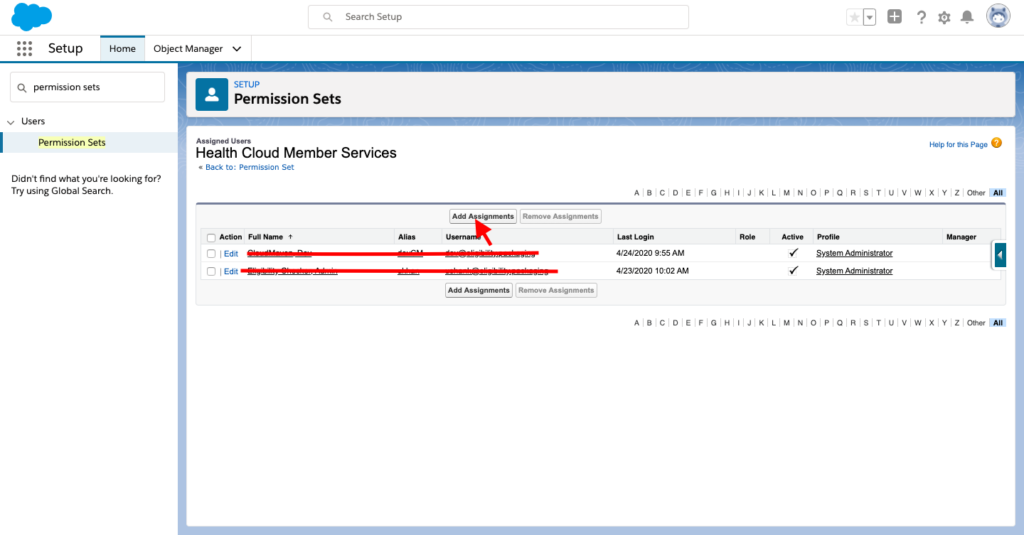
Click on Manage Assignments.

- Click on Add Assignments.
- Select the users to which you want to give permissions.
- Click Done.
2. Adding Mobile and Lightning Actions.
2.1 Mobile and Lightning Actions for Account Object.
- Go to the Setup menu.
- Click on Object Manager, Click on Account Object.
- Go to Page Layout >> Click on “Patient Layout”, You will land on something like this.
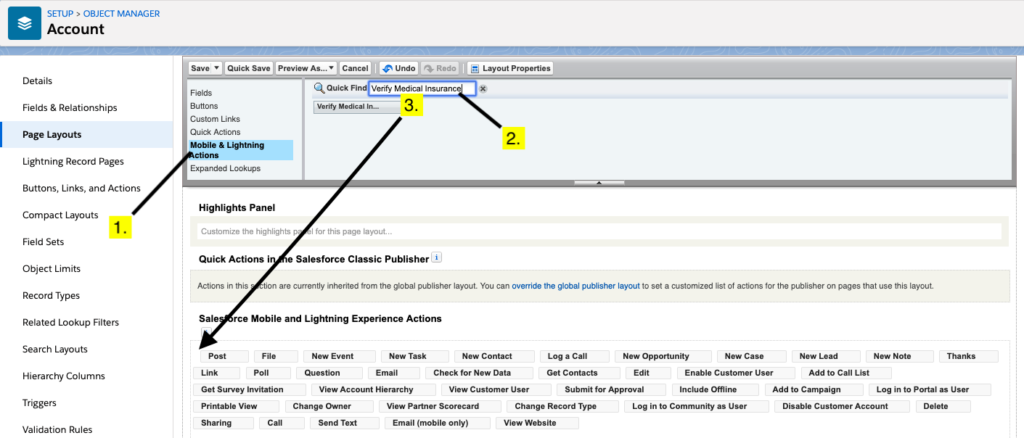
- Click on “Mobile & Lightning Actions”.
- In Quick Find Box enter Verify Medical Insurance.
- Drag the Verify Medical Insurance button to Salesforce Mobile and Lightning Experience Actions.
- Add the Member Plan Related List on the Account Page Layout.
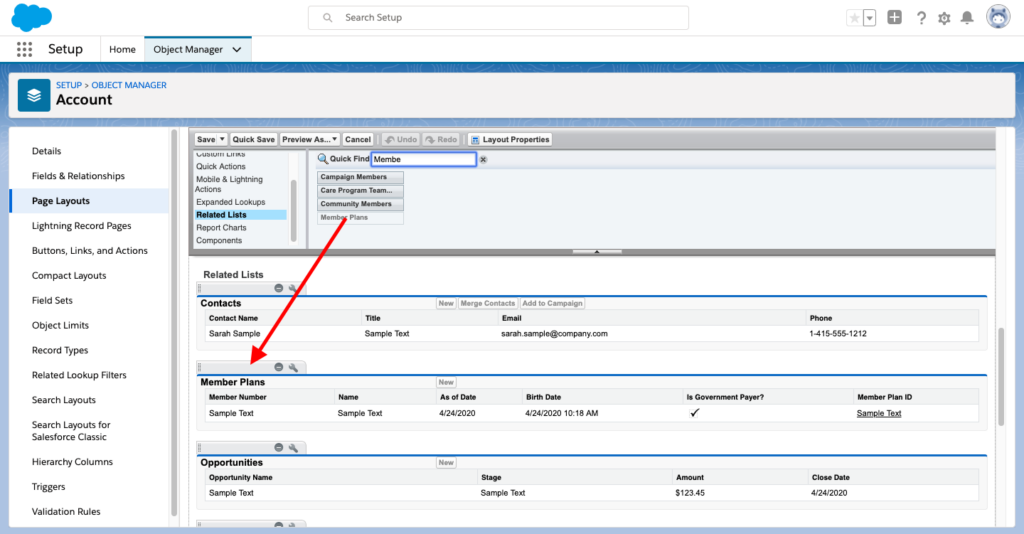
5. Click on the Wrench Icon to edit the Related List.
6. Select the Fields from the Multiselect Picklist Option.

7. Click Save.
If required – Please Follow the same steps written above to add Mobile And Lightning Actions for Contact Object.
3. Adding Lightning Component.
3.1 Adding Lightning Component to Account Page Layout
- Go to any Account you have created previously.
- Click on Setup(Gear Icon) on the top right of the page.
- Select Edit Page.
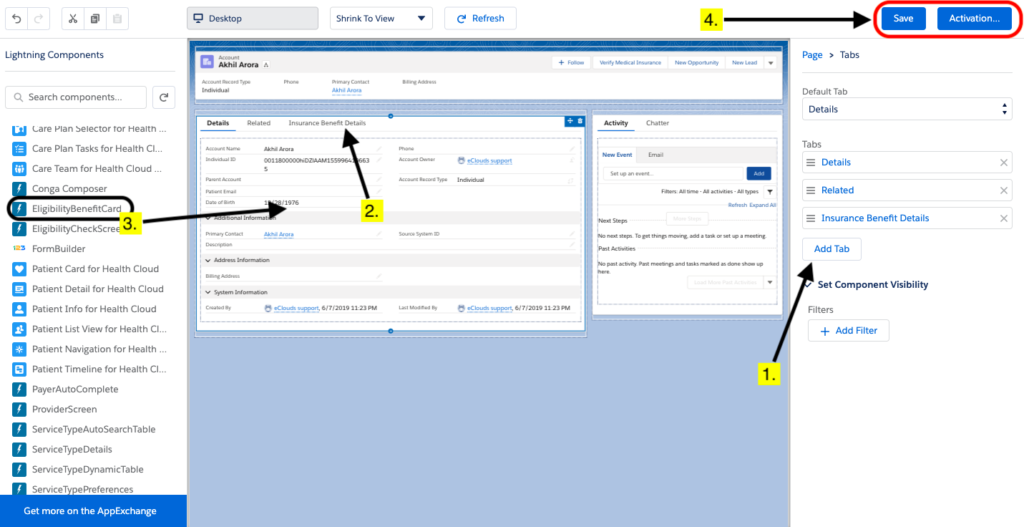
Select the box.
- Click add tab option.
- Populate it with “Insurance Benefit Details”, or any other name you are comfortable with.
- Drag Eligibility Benefit Card to Insurance Benefit Details Box.
- Click Save and then Activation.
Note: Please follow the same steps mentioned above for the Contact Page layout.
4. Page Layout Assignment:
4.1 Member Plan Object:
- Go to Setup >> Click on Object Manager.
- Go to Member Plan Object.
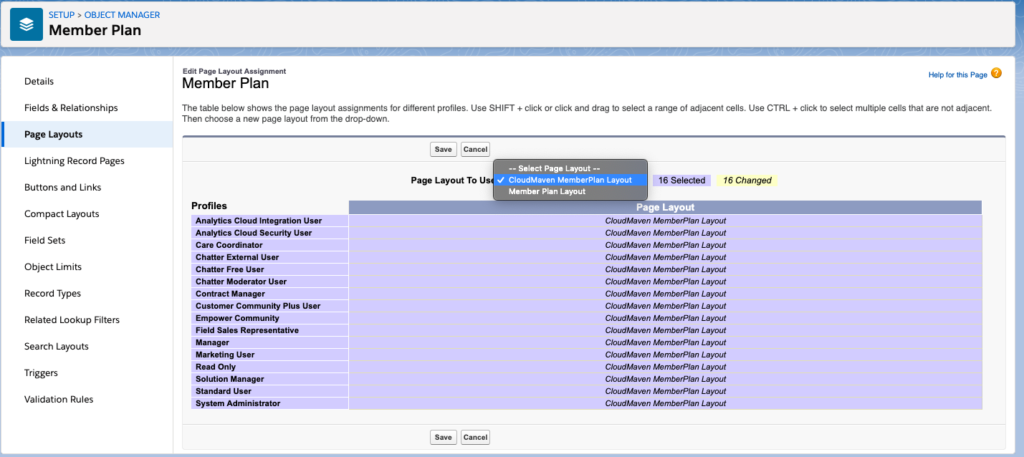
- Go to Page Layout.
- Click on Edit Assignment.
- From Dropdown select Cloud Maven MemberPlan Layout.
- Click Save.
4.2 Compact Layout Assignment(Member Plan Object):
- Click on setup.
- Go to object manager.
- Click on Member Plan Object.
- Click on Compact Layouts.
- Click on Compact Layout Assignments.
- From dropdown select Cloud Maven MemberPlan Compact Layout.
- Save.

Please follow the same steps to edit the assignment for:

5. API Credentials and Provider setup screen.
- Click on the “App Launcher”.
- In the search tab type “Eligibility Checker Setup”
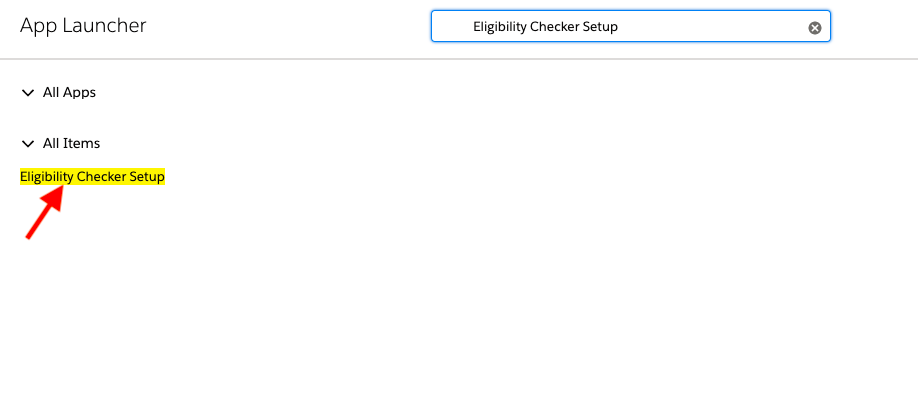
Click on “Eligibility Checker Setup”, You will Land on Admin Setup Console Page.

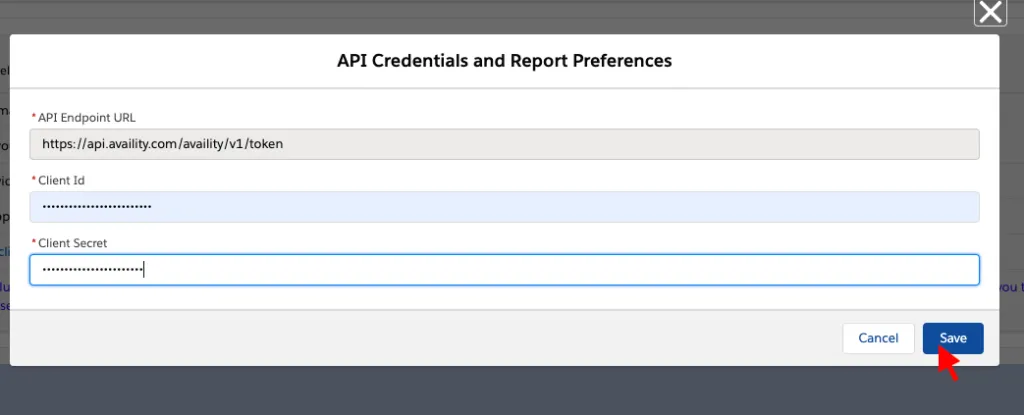
Step 1: Please drop an e-mail at solutions@cloudmaveninc.com to get your unique credentials.
Step 2: Populate “Client Id” and “Client Secret” fields which you will receive from us and click save.
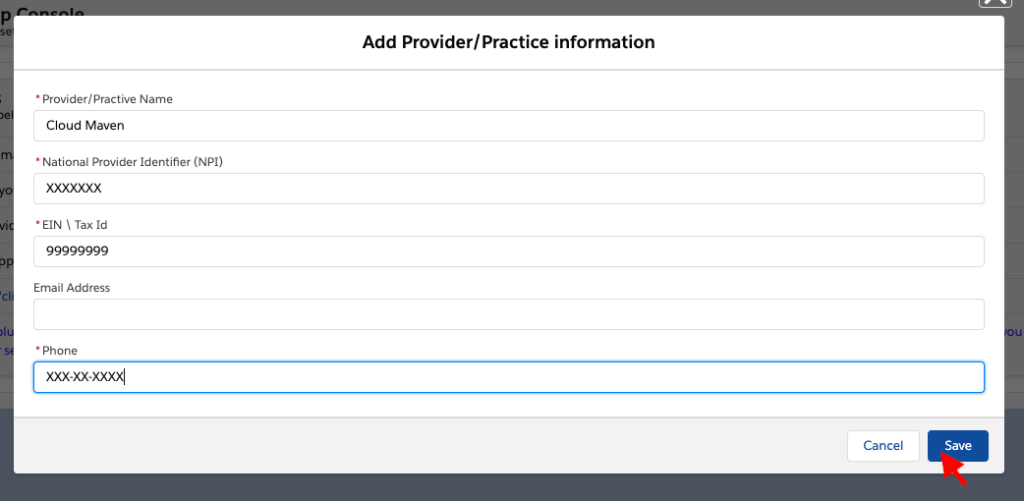
Step 3: Click on the gear icon to populate provider/practice information, Make sure that you have populated all the fields and then click save.
Step 4: Click on the gear icon to select the service type you want to store as benefit information, By default all the service type is checked to uncheck the service type that you don’t want to store just click on the checkbox to uncheck it and click save.

6. Adding Custom Detail Lightning Component
- Run one test case from Account Object.
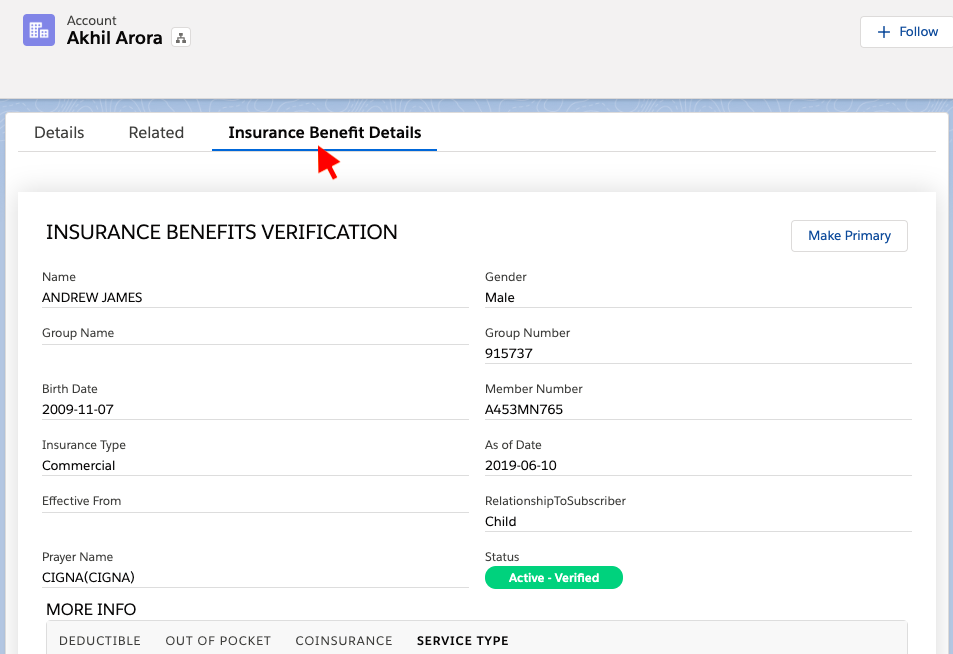
- Go to Account Page, Select record on which you have run Eligibility Check.
- Click on the Insurance Benefit Details Tab.
- Scroll down.
- Click on Service type.
- Click on Health Benefit Plan Coverage.
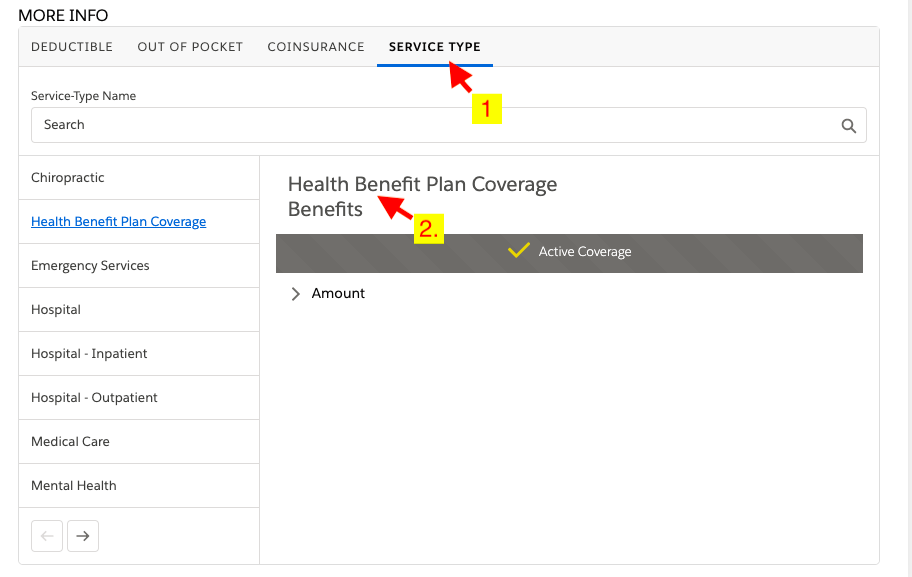
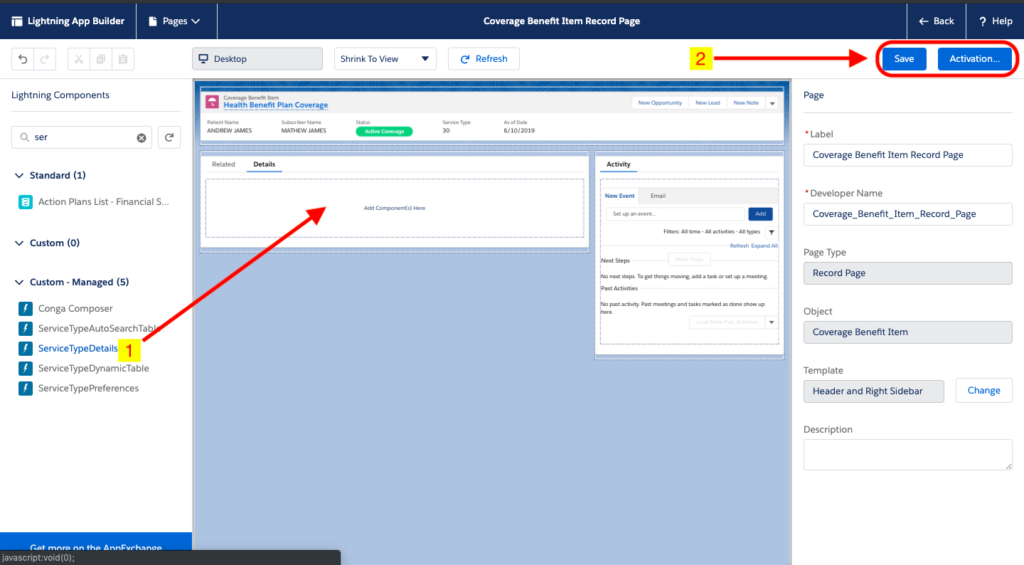
- It will take you to the “Health Benefit Plan Coverage benefits” page.
- Click the gear icon and select “Edit page”.
- Click on the “Details” tab or add another custom tab.
- Delete everything from the details tab(If you are not using another custom tab).
- Drag Service Type Details to the details tab.
- Click Save and Activation.
Congratulations you have successfully installed “Eligibility Checker Application” go ahead and check the insurance eligibility of any patient.
If you have any questions or you are facing any problems regarding this app please write to us at solutions@cloudmaveninc.com
We will be very happy to help you.
Thank You