Commercial Credit Checker - Post Installation Guide
We offer free installation and setup for our prospects and customers. Please email us at solutions@cloudmaveninc.com for further assistance.
1. General Instructions
- Login to your Salesforce org where the package is installed.
- Please make sure your Org meets the following criteria.
- Your Org should have Lightning Enabled.
- Please click on the link to enable Lightning Experience: https://trailhead.salesforce.com/en/content/learn/modules/lex_migration_introduction/lex_migration_
- State/Country Picklist should be enabled.
- To enable State/Country picklist, please click on the link: https://help.salesforce.com/articleView?id=admin_state_country_picklist_enable.htm&type=5
- The domain of your Salesforce Org. should be registered.
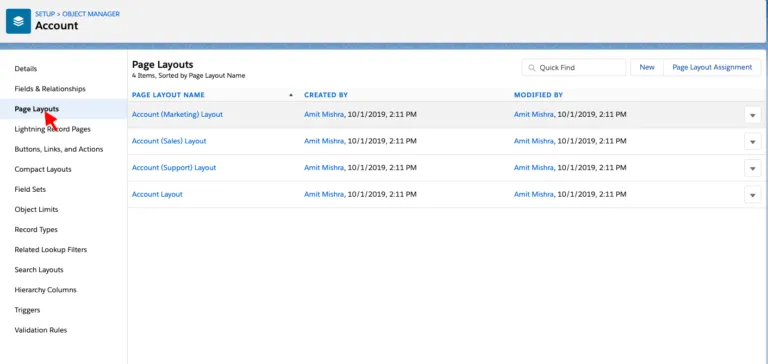
2. Page Layout
- Click on the gear icon go to setup.
- Click on Object Manager, go to Account Object.
- Click on the page layout.
- Select the page from where you want to Run Business Report.
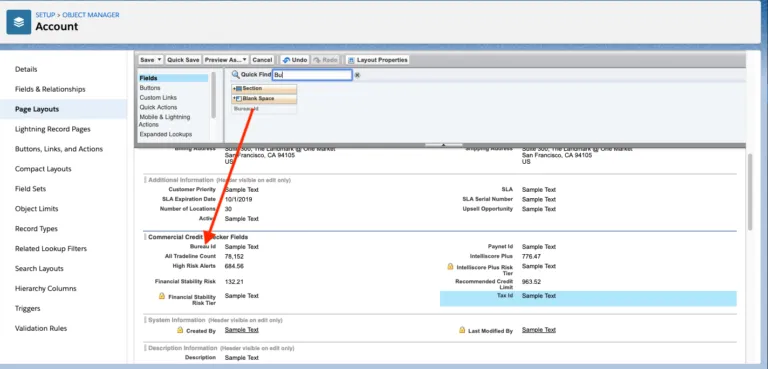
- Create a new section “Commercial Credit Checker Fields”.
- Drag all the fields into Commercial Credit Checker Fields.
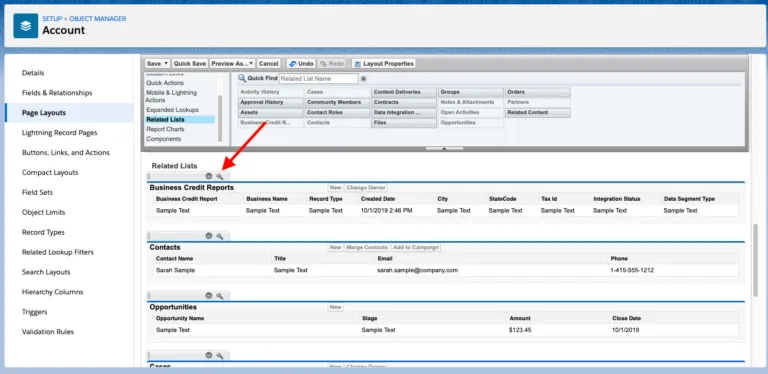
- Add the “Business Credit Report” related list into the Related Lists section.
- Now click on Mobile & Lightning Actions.
- Drag Run Business Report button into Salesforce Mobile and Lightning Experience Actions.
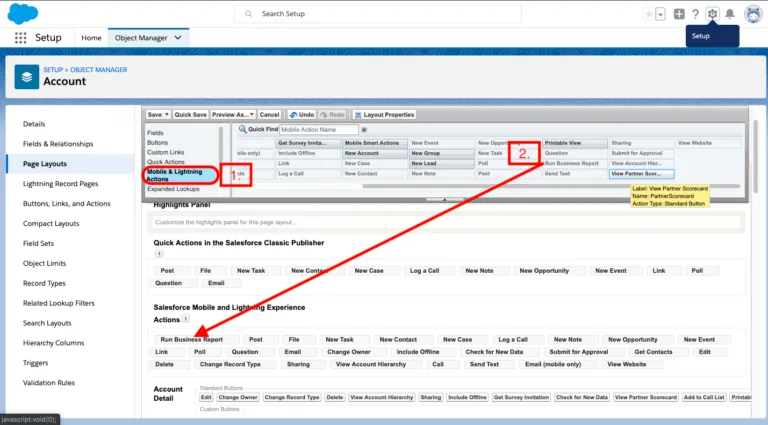
- Click Save.
3. Command Credit Credential Update and Setup
- Go to setup in Quick find box search for Visual Force pages.
- Click on ExperianCredentials.

- Update the Credentials here.

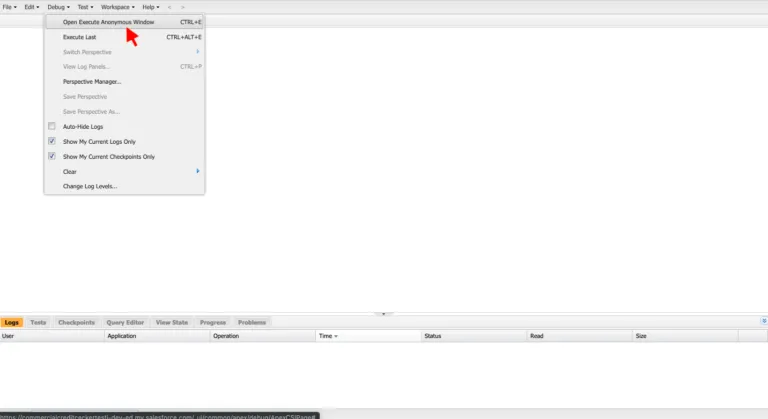
- Now Click on Gear Icon and go to Developer Console.
- Click on Debug dropdown.
- Open Execute Anonymous Window.
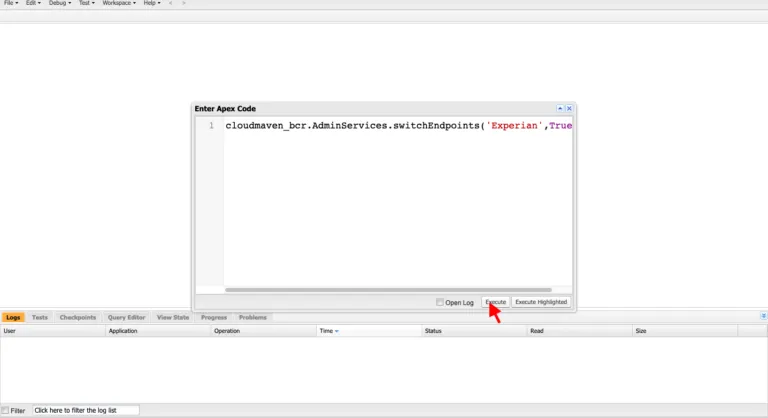
- Copy the below Script and Execute.
- cloudmaven_bcr.AdminServices.switchEndpoints(‘Experian’,True);
4. Experian Direct Credential Update and Setup.
- Go to setup in Quick find box search for Visual Force pages.
- Click on ExperianCredentials.
- Update the Credentials here.

- Now Click on Gear Icon and go to Developer Console.
- Click on Debug dropdown.
- Open Execute Anonymous Window.
Copy the below Script and Execute.
cloudmaven_bcr.AdminServices.switch Endpoints(‘Experian’,False);
Congratulations you have successfully installed Commercial Credit Checker Application go ahead and run your first report.